
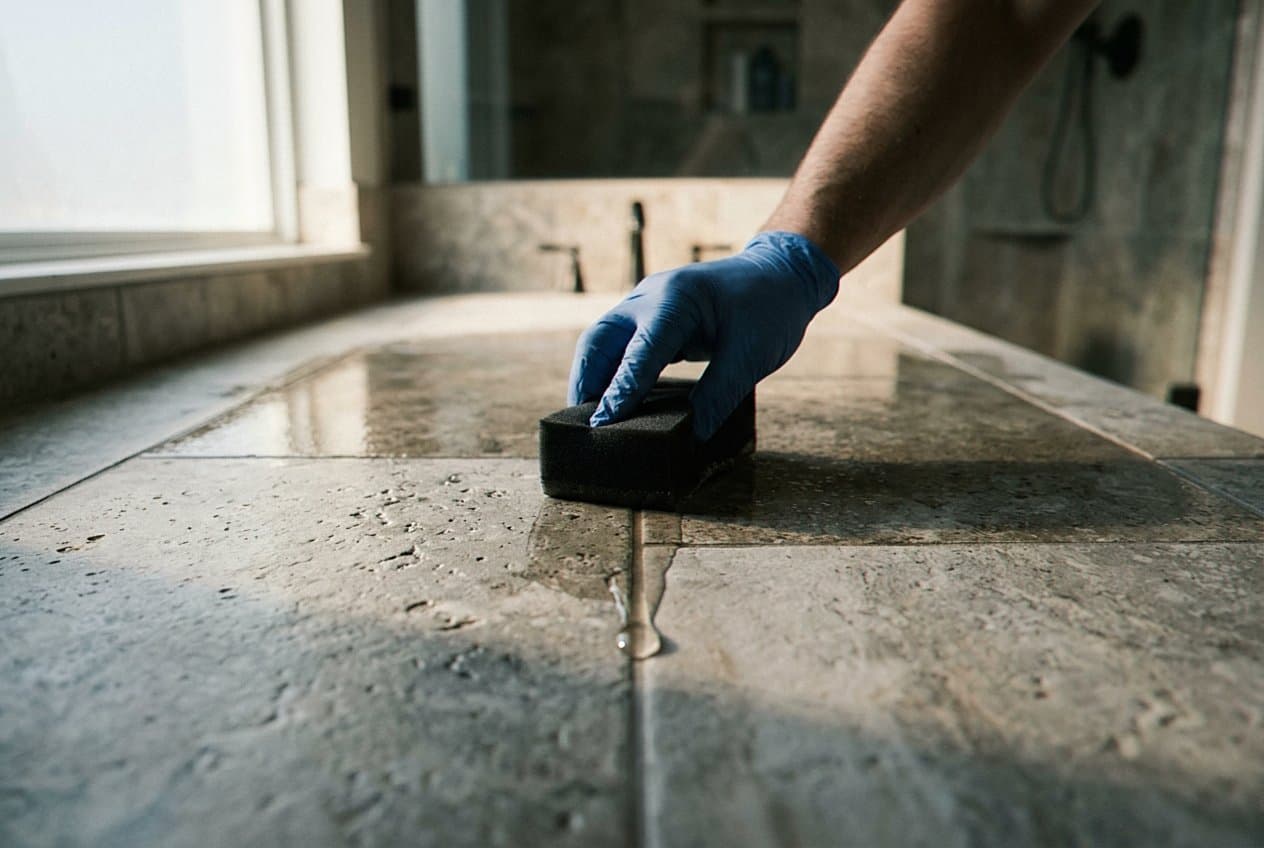
What it takes to lay big tile flat in a Warren house
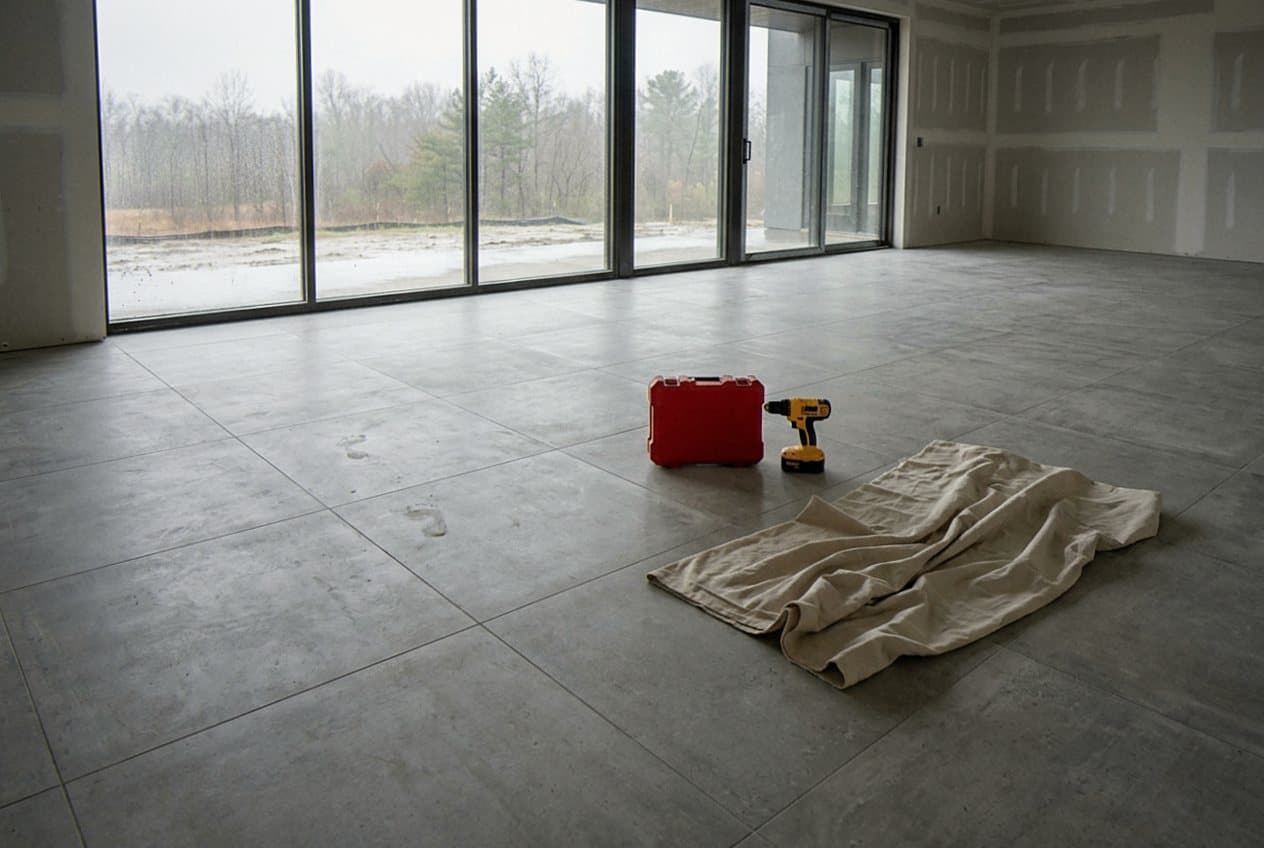
The tile trade calls anything with one side longer than fifteen inches a large format tile, and once you cross that line the rules change. A small floor tile can ride over a dip in the subfloor because it is short enough to bridge it. A tile that runs two feet or four feet long cannot. It sits on the high spot and hangs over the low one, so one edge stands proud of its neighbor and you feel the ridge with a bare foot every time you cross the room. The flatness standard for these sizes is tight. The surface has to sit within one eighth of an inch over ten feet, and within one sixteenth over two feet. Most floors in Warren are nowhere near that when we walk in. This city filled in with brick ranches and small bungalows in the years after the war, and the wood framing under those main floors has been moving with the seasons ever since. Joists sag in the middle of a span. An old patch leaves a hump at a doorway. Down in the basement the story is different but no easier, because a poured slab settles, cracks, and often runs downhill toward a floor drain on purpose. So the first thing we do on a big tile job is find out how far off the floor really is. We run a long straightedge across the room in several directions and mark every spot where light shows under it. Then we know whether the fix is a bag of patch in three places, a full pour of leveler across the room, or grinding a ridge out of the concrete. That measuring hour is not padding. It decides what the prep costs, how thick the mortar bed has to be, and whether the tile you picked will lay the way you pictured it. Walls get the same treatment for a different reason. Studs in an older Warren bathroom are rarely in one plane, and a big sheet of porcelain on a shower wall will telegraph every stud that sits proud of its neighbors. So we check the wall with a level and a straightedge before any board goes up, and we shim or float it until the plane is true. A cracked slab gets one more step, since a crack that moves will travel straight up through the mortar and split a grout line. We separate the tile from that movement with an uncoupling layer rather than hoping the crack has gone quiet.
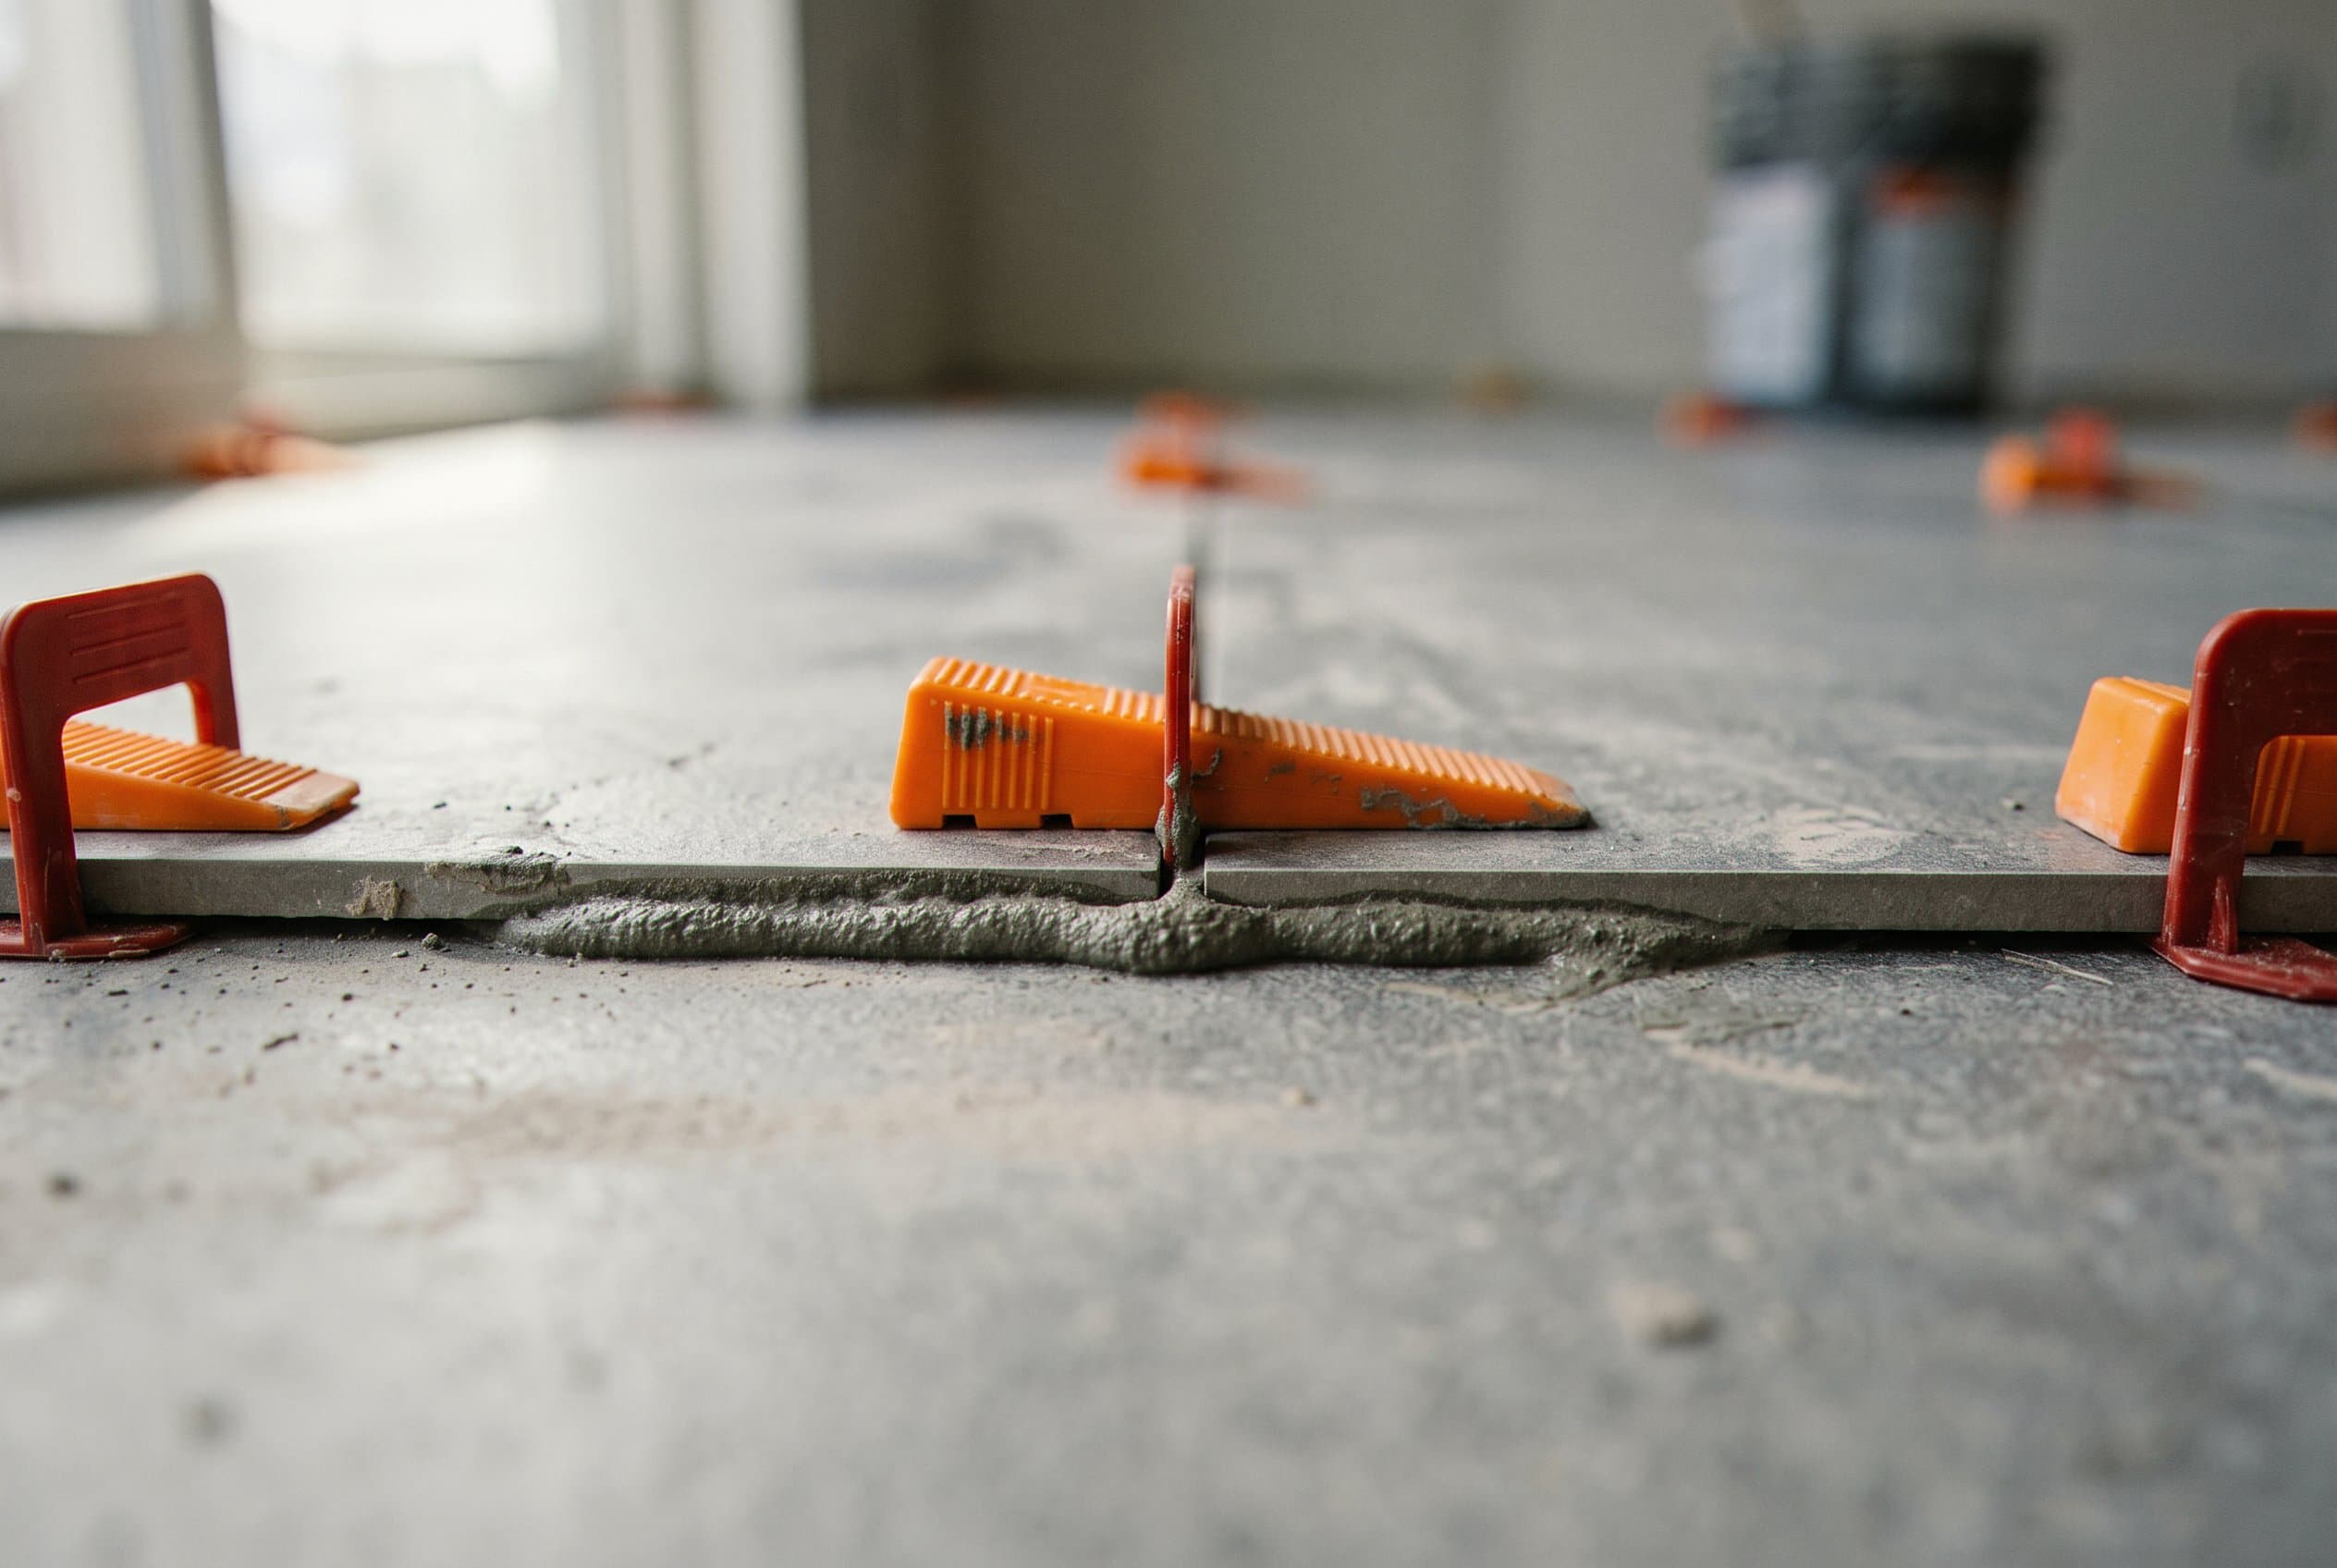
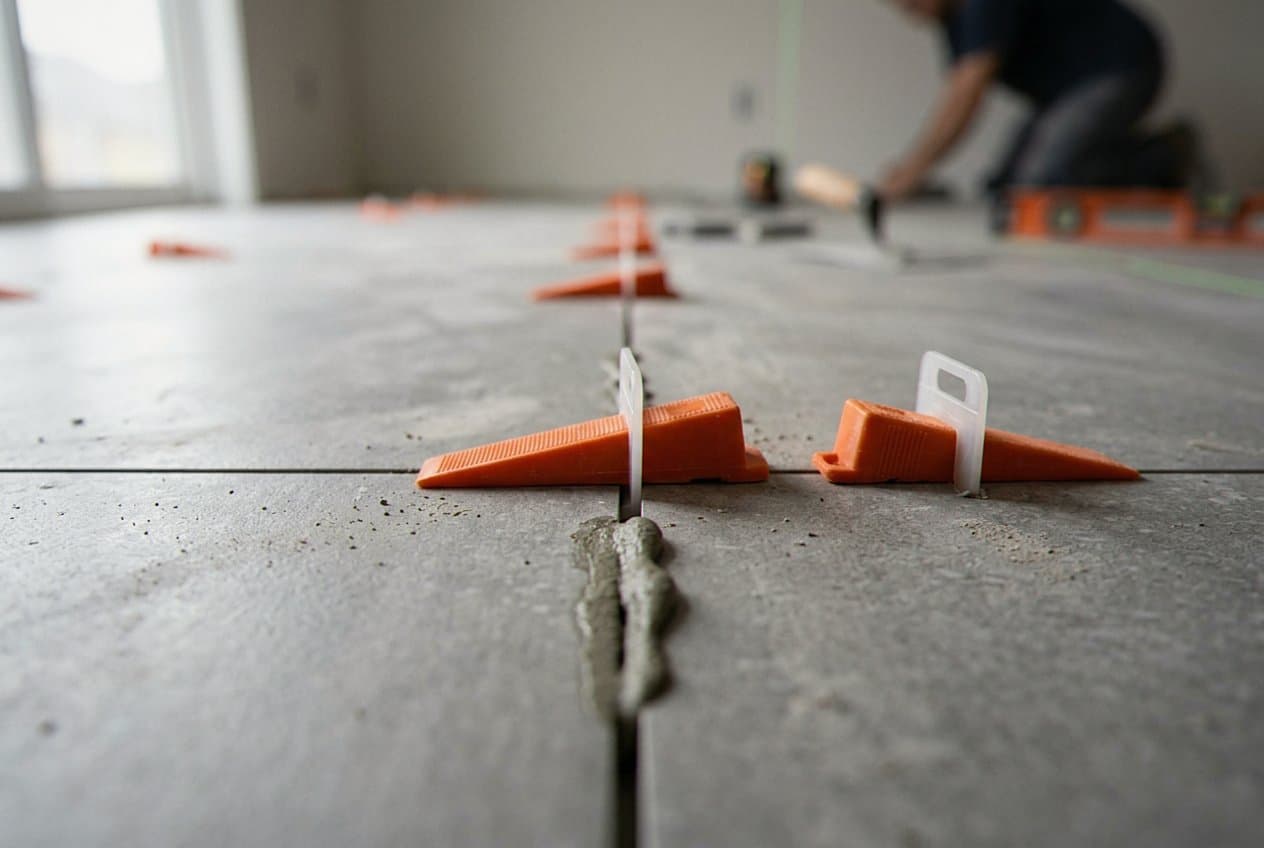
The mortar under a big tile does more work than most people think, so we do not use the same bag we would grab for a small mosaic. Large porcelain wants a mortar built to hold its thickness under weight, one that will not slump while the tile cures. That matters most on a wall. A single sheet on a shower wall is heavy enough to creep down a quarter inch overnight if the mix is wrong, and by morning your grout line is crooked and nothing lines up with the niche. We comb the substrate in one direction, back butter the tile so the ridges collapse instead of trapping air, and then we lift one early in the day to look at the transfer. If the back is not covered, we change the trowel or the mix right then. Dry rooms want most of the back in contact. Showers and floors that take water want nearly all of it, because any hollow spot under a tile is a place for water to sit and a place where a crack starts the first time something heavy lands on it. Layout is the other half. Long planks come out of the box with a slight crown down the center, which is normal for pressed porcelain and not a defect. Run them in a half brick pattern and the crown of one tile meets the low end of the next, so every joint reads as a lip. We keep the offset closer to a third of the tile length, and we dry lay a run on the floor before anything is stuck down. Leveling clips and wedges hold neighboring edges in the same plane while the mortar sets. They are cheap, they are slow to install, and they are the difference between a floor that looks like one flat surface and a floor that catches the light in stripes. Grout lines deserve a word too. People pick big tile hoping to see almost no grout, and we understand the appeal, but the joint still has a job. It absorbs the small differences in tile length from one piece to the next. Tiles with machined edges can run a narrow joint. Tiles left the way they came out of the kiln need a wider one, or the rows drift and you see it by the far wall. We will show you both on the floor before we commit, with the tile you actually bought, so the joint width is your call and not a surprise at the end.
- We measure the floor before we quote it. A long straightedge run across the room tells us where the dips sit. Then we know whether your prep is three bags of patch or a poured leveler over the whole slab. You hear that answer before we start, not after the tile is off the pallet and the room is torn up.
- Mortar chosen for the size and the weight of what we are setting. Big porcelain needs a mix rated to hold its thickness without sagging. That way a wall panel stays where we placed it, instead of creeping down a quarter inch overnight and throwing every joint above it out of line.
- Full mortar contact under every piece. We comb one direction, back butter the tile, and pull one up early in the day to see what transferred. Hollow spots under a large tile are where cracks start and where water sits. Dry rooms get most of the back covered. Wet rooms get nearly all of it.
- Leveling clips and a layout that fights lippage. Long planks carry a slight crown down the middle. So we keep the offset near a third of the tile, rather than a half brick pattern that stacks every high point against a low one. Clips then hold each pair of edges in the same plane until the mortar sets.
- One crew from demo through grout and caulk. Movement joints and doorway transitions get planned before we start. Tile grows and shrinks with the seasons in a Michigan house, so the edge of the floor stays open under the base trim. Thresholds get picked while the floor height is still a number on paper.
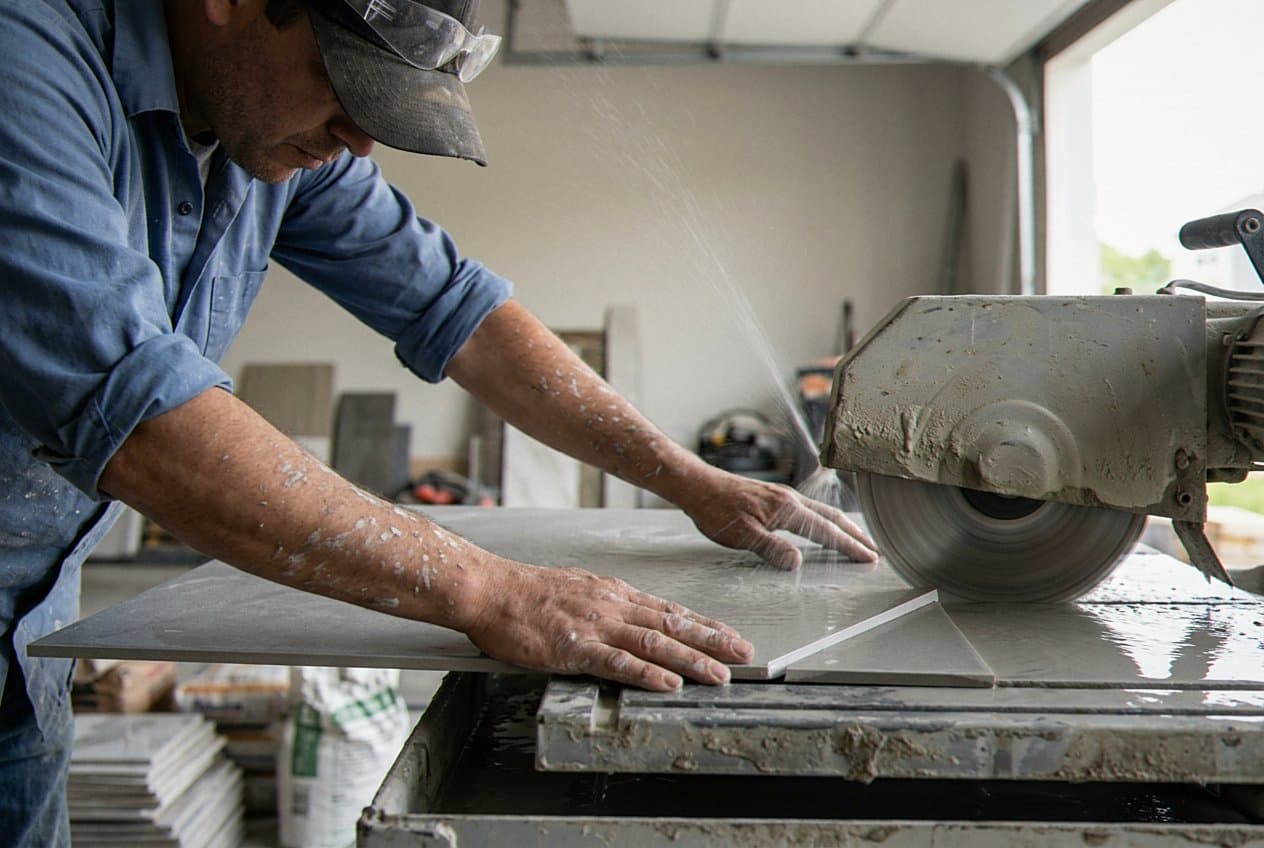
Living through the work is the part nobody asks about until it starts, so we lay it out ahead of time. Big tile takes longer than small tile in the prep and less time in the setting, and the days are lumpy. Demo and haul away come first. If there is old ceramic stuck hard to a slab, that day is loud and dusty, and we tape off doorways and run the dust down to the least amount we can. Then comes the flat work. Patch has to dry, leveler has to cure, and a slab that gets ground needs a vacuum pass before any mortar touches it. None of that looks like progress. It is the reason the finished floor lays right. Setting day moves fast by comparison, since a room fills up quickly when each piece covers eight square feet, though it takes two of us to carry and place a panel without cracking it. After the tile is down the room sits. Mortar has to cure before grout goes in, and grout has to cure before you drag a refrigerator back over it. We will not shortcut either one to hand the room back a day sooner. What we will do is tell you which days you are walking the long way around, which day the water is off, and which day you get the room back for good. If you need the path to the side door open the whole time, tell us while we are measuring and we will split the room and work it in halves. Heated mats under a large format floor add a day and a check of the wire before and after the pour, and we plan for that too rather than squeezing it in.
If you are looking at large planks or panels for a kitchen, a bathroom, an entry, or a finished basement, call us and we will come look at the room first. We work in Warren, Center Line, Sterling Heights, Roseville, Eastpointe, Fraser, and around Macomb County. We will tell you what the floor underneath needs, how much height the new build up adds at your doorways, and how many days the room is out of service. If the size you picked is wrong for the space, or the prep will cost more than the tile itself, we will say so while you can still change your mind. No pressure either way.